Installation of water tank is one of the smartest investments you can make for your home’s resilience and utility savings. But a tank’s lifetime performance hinges on one critical phase: the installation.
A poorly installed tank can lead to leaks, structural stress, and contaminated water. Done correctly, it provides decades of reliable service. This guide cuts through the confusion, offering a clear, professional map for installing your water tank, with insights tailored to the durability of Storewel tanks.
First, Choose Your Champion: Understanding Tank Types
Before installation, selecting the right tank is paramount. Here’s a quick overview, focusing on why engineered rotomoulded plastic tanks are the modern standard for most homes.
Concrete Tanks:
Somewhat durable but permanent, heavy, and can be prone to cracking and pH imbalance in water over time.
Steel Tanks (Galvanized/Stainless):
Strong and often used for large commercial applications. Risk of corrosion (galvanized) or higher cost (stainless).
Fiberglass Tanks:
Corrosion-resistant, but can be brittle and more susceptible to damage during handling. Not suitable for food grade applications.
Plastic Tanks (Polyethylene):
This is where Storewel excels. Today, these are the preferred choice for residential and commercial use, and for good reason:
- Corrosion & Rust-Proof: Unlike metal, they never rust.
- Hygienic & Safe: Made from food-grade, UV-stabilized material that prevents algae and keeps water pure.
- Lightweight & Easier to Install: Drastically reduces handling complexity and cost.
- Durable: High-quality polyethylene, like that used in Storewel tanks, is impact-resistant and built for all weather.
- Low Maintenance: No lining or anti-corrosion treatments needed.
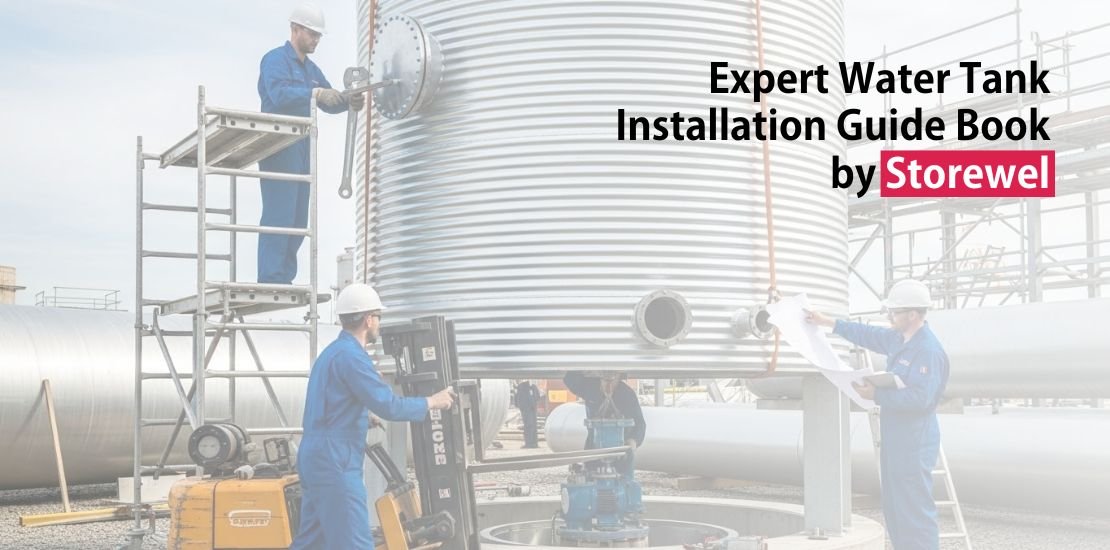
Step-by-Step Water Tank Installation Guide by Storewel
Follow these steps to ensure your water tank installation for maximum safety, efficiency and longevity.
1 Step: Strategic Location Scouting
The right spot is non-negotiable.
- For Above-Ground Tanks: Choose a flat, stable, and level area close to downpipes (for rainwater harvesting) or your water source. Ensure it’s clear of overhanging trees, supports future plumbing access, and complies with local property regulations.
- For Underground Tanks: You must consider soil type, water table level, and proximity to structures. Always call local utility services to mark underground lines before any excavation.
2 Step: Building a Perfect Foundation – The #1 Priority
This is the most critical step to prevent future bulging, cracking or settling.
The Base Must Be: Level, solid and capable of supporting the full weight of the tank when filled with water (water weighs 1 kg per liter – a 5000L tank holds 5 tonnes!).
Recommended Bases:
- Reinforced Concrete Slab: The gold standard. Should be 100mm thick, slightly larger than the tank’s diameter.
- Compact Crusher Dust/Sand: A well-leveled and mechanically compacted base can be suitable for smaller tanks.
- Storewel Pro-Tip: Never install directly on loose soil, asphalt, or uneven paving stones. A proper base is cheaper than a failed tank.
3 Step: Careful Positioning & Placement
- For larger tanks, use a crane or professional equipment. Never drag a tank into place.
- Carefully lower the tank, ensuring it sits perfectly centered and stable on the prepared base. For underground tanks, backfill with sand or native soil in layers, compacting as you go to avoid void spaces.
4 Step: Plumbing Connections – Inlet, Outlet, Overflow & Vent
- Inlet: Connect via a flexible hose or PVC to your water source (rainwater downpipe, borewell, etc.). Always install a first flush diverter and tank screen for rainwater to keep out debris.
- Outlet: Fit a durable ball valve or tap. Ensure the outlet is raised 50-100mm from the tank bottom to avoid drawing in any settled sediment.
- Overflow (Essential): Your tank must have an overflow outlet plumbed to direct excess water away from the tank foundation and into a stormwater drain or garden soakaway. Fit a mosquito-proof mesh screen.
- Vent: Provide a dedicated vent opening to allow air to enter and exit the tank as water levels change.
5 Step: Pump & System Integration
- If you need pressure for household appliances or irrigation, install a compatible pump and pressure controller.
- Ensure all electrical work is performed by a licensed electrician, with the pump connected to a protected power source.
6 Step: The All-Important Testing Phase
- Do Not Skip This. Partially fill the tank and inspect all connections, seams, and the base for 24 hours.
- Check for leaks, signs of movement, or stress on the tank walls.
- Once confirmed leak-free, fill completely and test the pump and overflow system.
Post-Installation: Ensuring Long-Term Performance
Your Storewel tank is built to last, but simple maintenance guarantees peak performance.
- Inspect Regularly: Check the roof catchment, gutters, and inlet screens every season.
- Clean Periodically: Drain and clean the tank interior every 2-3 years to remove any minor sediment buildup.
- Check Infrastructure: Ensure the base remains stable and the overflow is clear of blockages.
Why Your Installation Partner Matters: The Storewel Assurance
While a DIY install is possible for small tanks, professional installation is highly recommended. It ensures:
- Correct base preparation and handling.
- Compliance with local plumbing codes.
- Optimal system performance from day one.
- Preservation of your product warranty.
Storewel tanks are designed for straightforward, reliable installation. Their engineered strength and precision moulding mean you’re starting with the best component in your water security system.
Ready to build your foundation for water independence? Explore Storewel’s range of ready water tank installation and connect with our network for approved installers for a seamless experience.