Your water tank is a silent guardian of your home’s health. Whether it’s for drinking, cooking or bathing, the quality of the water it delivers depends entirely on the environment inside. Over time, even the best-maintained tanks can accumulate sediments, biofilm, algae and minerals.
Regular cleaning isn’t just a maintenance task; it’s a critical health safeguard. The Storewel guide provides a clear, professional procedure for cleaning your water storage tank, with specific insights for maintaining the hygiene standards that Storewel tanks are designed to uphold.
Why Water Tank Cleaning is Non-Negotiable
Neglecting your water tank can lead to:
- Sediment Build-up: Sand, silt, and rust particles settle at the bottom, contaminating your supply.
- Biofilm & Bacteria: Stagnant water is a breeding ground for harmful microorganisms.
- Algae Growth: Sunlight exposure can promote algae in tanks without proper UV protection.
- Reduced Water Flow & Quality: Contaminants affect taste, odor, and clarity, and can clog pipes and appliances.
Cleaning Frequency: For drinking water tanks, a thorough cleaning every 6 to 12 months is recommended. Inspect your tank quarterly. More frequent cleaning may be needed if you notice sediment, discoloration, or an off-taste.
Pre-Cleaning Checklist: Safety & Preparation First
Gather Your Supplies:
- Safety Gear: Rubber gloves, safety goggles, a mask, and non-slip shoes.
- Cleaning Tools: A soft-bristled brush (nylon/plastic), a long-handled scrubber, a clean sponge, and a plastic bucket. Never use wire brushes or abrasive pads on plastic tanks.
- Cleaning Agents: White vinegar, baking soda, or a mild, unscented dish soap. For disinfection, use unscented household bleach (sodium hypochlorite).
- Other Items: A garden hose, a wet/dry vacuum (optional, for final water removal), and a chlorine test strip kit.
Crucial Safety Step: TURN OFF ALL POWER to any connected pumps or inlet sources. Ensure the area is well-ventilated.
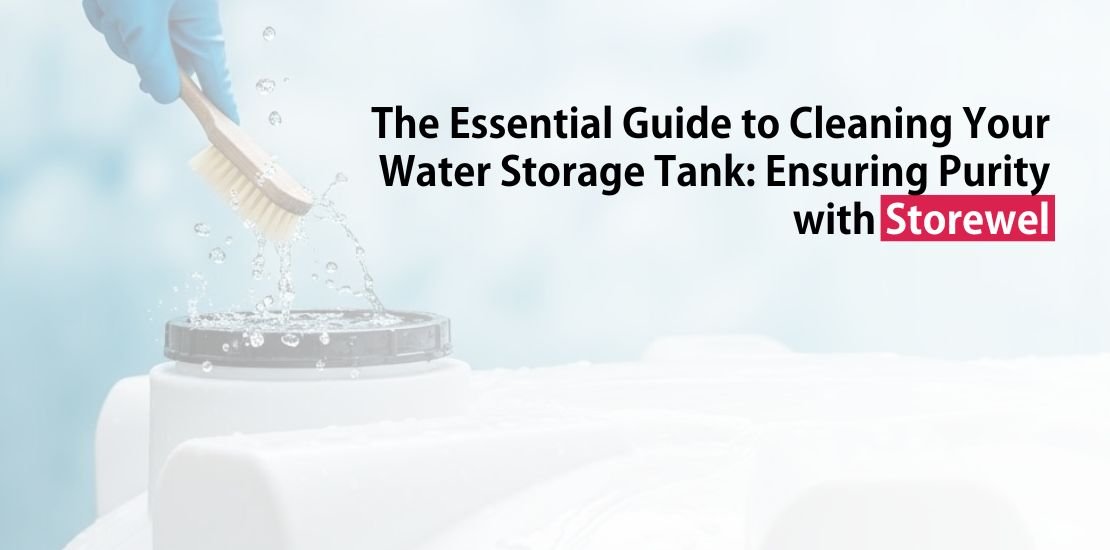
Step-by-Step Guide for How to Clean Your Water Storage Tank
1st Step: Drain the Tank Completely
- Locate the drain valve or outlet tap at the base of your tank. Connect a hose to direct the wastewater to a garden or drainage area, away from plant beds.
- Open the valve and let the tank empty fully. For tanks without a drain valve, you may need to use a pump or wet/dry vacuum.
2nd Step: Remove Residual Water & Debris
- Once drained, use your wet/dry vacuum or a clean bucket and sponge to remove the last inches of water and any settled sludge at the bottom.
- This step is vital to prevent dirty water from diluting your cleaning solution.
3rd Step: Prepare & Apply Cleaning Solution
- For General Cleaning: Mix a solution of hot water with a mild, non-abrasive detergent.
- For Stains or Scale: Use a paste of baking soda and water or a diluted white vinegar solution (1 part vinegar to 4 parts water).
- Apply the solution to the interior walls, floor, and ceiling of the tank. Use your long-handled scrubber to work it into all surfaces, paying special attention to corners, seams, and around the inlet/outlet ports.
4th Step: The Detailed Scrub
- Scrub every inch methodically. The smooth, moulded interiors of Storewel tanks make this process easier, as they lack crevices where grime can hide.
- For the upper areas, attach your soft brush to an extension pole. Rinse and reapply your cleaning solution as needed.
5th Step: Thorough Rinsing – The Most Critical Phase
- This step removes all cleaning residue. Use a garden hose to spray down the interior forcefully, starting from the top and working down.
- Collect the initial rinse water and dispose of it. Rinse at least twice until the water runs completely clear and no suds remain.
6th Step: Disinfection (Especially for Drinking Water Tanks)
- Vital for potable water storage. Fill the tank with clean water to about 1/4 capacity.
- Add bleach for disinfection. A general guideline is 1 cup (240ml) of unscented household bleach (5-6% concentration) per 5000 litres of tank capacity. (Adjust proportionally for your tank size).
- Complete filling the tank. Mix the solution by sloshing water from the outlet or lightly agitating the tank.
- Let it stand for 6-12 hours, ideally overnight.
- Drain the entire chlorinated water safely into a drain or non-plant area. This water is not for use.
7th Step: Final Rinse & Refill
- Perform one final rinse with fresh water to ensure no chlorine remains.
- Your tank is now clean and safe. Refill it with fresh water. For drinking water tanks, consider testing the first draw with a chlorine test strip to confirm no residual bleach is present.
Proactive Maintenance Tips to Extend Time Between Cleanings
1. Regular Visual Inspections: Check your tank monthly for cracks, leaks, or insect screens on vents/overflows.
2. Keep It Dark: Storewel tanks are UV-stabilized, but installing them away from direct sunlight further inhibits algae growth.
3. Maintain the Inlet: Ensure your rainwater first-flush diverter and inlet screens are clean and functional to prevent debris from entering.
4. Use Clean Water to Fill: The cleaner the water going in, the cleaner the tank stays.
5. Ensure a Tight Seal: Always keep the manhole/access lid securely closed to prevent dust, insects, and contaminants from entering.
The Storewel Advantage: Designed for Easier Maintenance
Storewel tanks are engineered not just for durability, but for health-conscious maintenance:
- Smooth, Seamless Interior: Prevents sediment adherence and makes scrubbing more effective.
- Food-Grade, Non-Toxic Material: Ensures no harmful chemicals leach during cleaning or storage.
- Opaque & UV-Protected Walls: Built to block sunlight and significantly reduce the potential for algae growth.
- Secure, Airtight Lids: Provide a critical barrier against external contamination.
Cleaning your water tank is the simplest guarantee of water quality. A Storewel tank gives you a superior foundation for that purity.
Protect your water, protect your health. Explore Storewel’s range of hygienic, easy-to-maintain water storage solutions designed for lasting purity.